Featured

PipeDreamer

This is the post excerpt.

As a lover of smoking pipes, I started this blog to share some of my thoughts on pipe restoration, finding the right pipe, maintenance, accessories and tobaccos. I’ve enjoyed pipe smoking on and off for a number of years. The past two years I’ve more seriously been delving into pipe smoking, tobacciana history, buying estate pipes and rounding out my own collection. I also wanted to give back to the pipe community because of those who have freely shared their knowledge with me.

So, grab a pipe and a tin of baccy and come relax by the woodstove as we chat about pipes, tobacco and slowing down to enjoy.

Continue reading “PipeDreamer”

Custombilt Refresh


blog by Al Loria

I came across this pipe a few months ago in a lot buy with another pipe which the seller thought was unmarked because of prior wear and polishing. But, with a loop and bright light I could see it was Mincer era Custom-Bilt. Score one for me!

This is one of the odder Custombilts I’ve come across. The nomenclature is different than any other I’ve seen. It is the old script logo, but does not have the dash between Custom and Bilt, and only the C in Custombilt is capitalized. There is a square stamped on one side of the stummel, which I have seen before, and imported briar on the bottom. It is a short, saddle-bit billiard with a slightly canted bowl.

The overall condition was good. No major dings, little tar on the rim, the chamber was in very good shape and solid. There was some wear on the nomenclature and the stem was oxidized and loose. The stem had minimal tooth chatter and was slighted dented just past the button.

I started on the stem by using Bar Keepers Friend applied with a Qtip. After about five minutes I rubbed the stem with another Qtip until the oxidation is lifted. I find this method faster than an Oxyclean bath when the stem is not badly oxidized, as this one was. After washing off the stem in running water I went to the task of sharpening the button with needle files. The button had one tooth dent at the inner edge that was not all that bad, so I got it close to perfect rather than using black CA to fill it. I then went to the 600 grit paper then micro mesh pads from 1500-12000 grit. The stem was thin and thought it best not to over sand the slight teeth marks. Using a method I learned from Steve L., I inserted the tenon into a plastic card so I could preserve the stem’s shoulder while sanding.

It was time to fit the tenon to the mortise. I’ve done this many times before, but this wasn’t going to be my day. I heated the tenon with a Bic lighter and inserted a drill bit only slightly larger than the hole. Everything was going according to plan whensuddenly, the drill bit got stuck in the stem as the tenon cooled. I put a needle nose pliers to the bit and gently twisted and pulled. Well, I guess the twist wasn’t gentle enough. The end of the tenon split at the smaller step down. I had to reheat the tenon to get the drill bit out. I managed to remove it and promptly freaked out.

At first, I thought the stem was ruined, but the cracks stopped before the tenon proper. It was time to get out the heavy equipment. The Dremel with a cutoff disc worked well to cut off the cracked part of the tenon. Let me tell you, the smell of vulcanite being subjected to heating from cutting is a smell you don’t want to be near, especially in a less than well ventilated area. I was in the basement. Enough said. I used a sanding stone on the Dremel to flush up the end of the tenon. Turned out to be a fine job. I went ahead, again, and heated the drill bit and pushed it into the end of the tenon. This time it worked like a charm.

imageimage

It was time to turn my attention to the stummel. The chamber only needed a touchup with the tri-corner reamer. I sanded the inside of the bowl with 400 grit around my finger leaving a thin layer of cake. The tar on the rim was minimal and it came off with Qtips and saliva after which I sanded It with 600 grit.The bowl I rubbed down with Everclear on cotton balls. At that time there were fills that had become visible. Using a dental pick I was able to remove the softened fill.

image

image

The mortise was loaded with tars that had built up and hardened. The retort needed to be used to penetrate the tars and make them able to be removed. After using the retort three times the alcohol was able to liquefy and remove a good deal of the sticky crud. It required shank brushes, Qtips and pipe cleaners to remove the balance of the accumulated brown goop.

imageimage

image

A product called Plastic Wood was used to repair the fills. The pipe was now ready to have the fills and the rim stained. The grooves of the rustication I darkened with black stain. This stain pen was new to me and I was surprised how thick the stain/finish combination was. I needed to apply and rub out the stain before bringing the pipe to the buffing station. Using Red Tripoli, White Diamond and Carnauba wax on the stummel and stem the finish began to come up nicely.


This is the finished pipe. Thanks for looking.

imageimageimageimage

imageimageimage

imageimageimageimage


Miracle Pipe Mud Review

A blog by Al Loria


Have you ever had a tobacco chamber burnout or a draft hole that got too large? I think this may be a product worth looking into. It’s a pipe mud made by Aristocob called Miracle Pipe Mud. Many of us have used the traditional cigar ash mud, or JB Weld, or even a briar plug in the bottom of a burnt out bowl. This mud could possibly be an easier and more permanent solution.

The mud comes in powder form in a ziplock bag. It’s a light gray color and is fine grained. It has real cigar ash in it and other proprietary ingredients. It doesn’t look like anything special, but, it is.

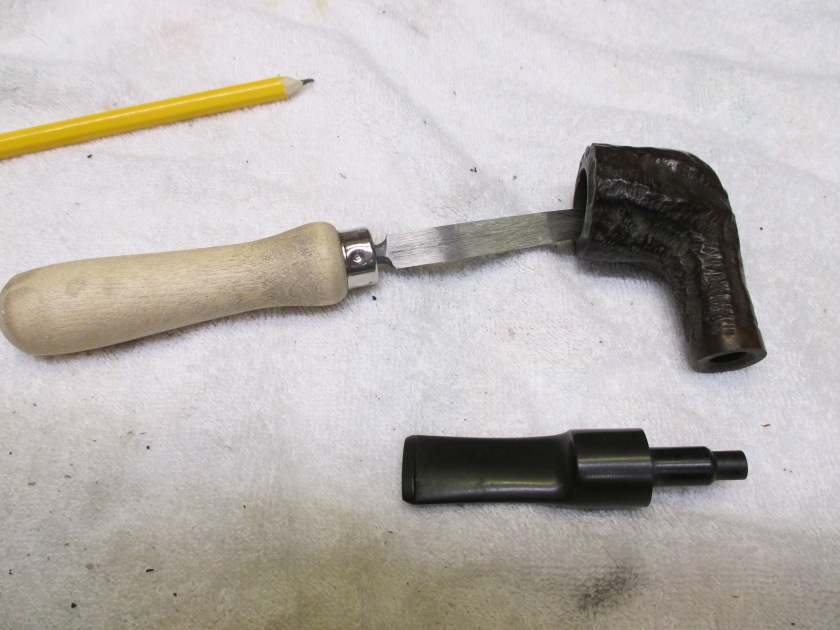
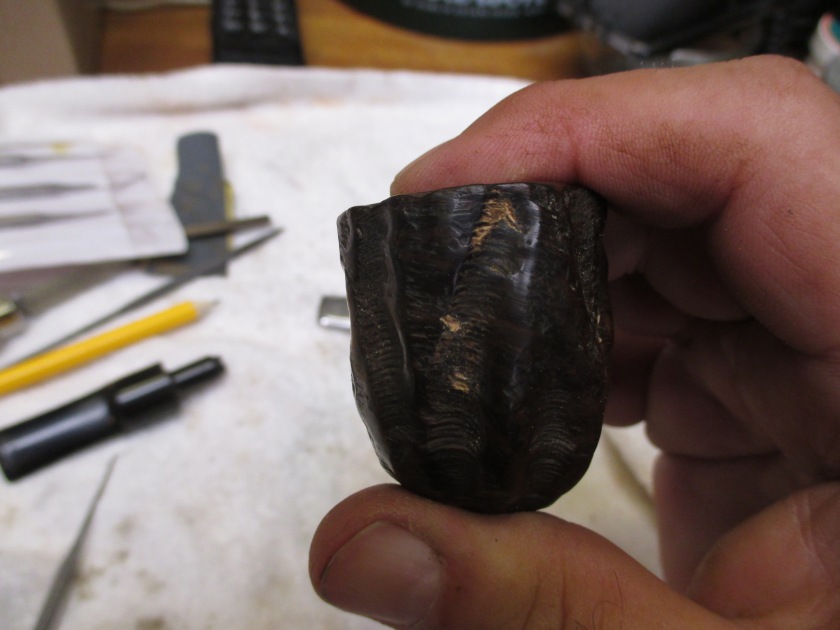
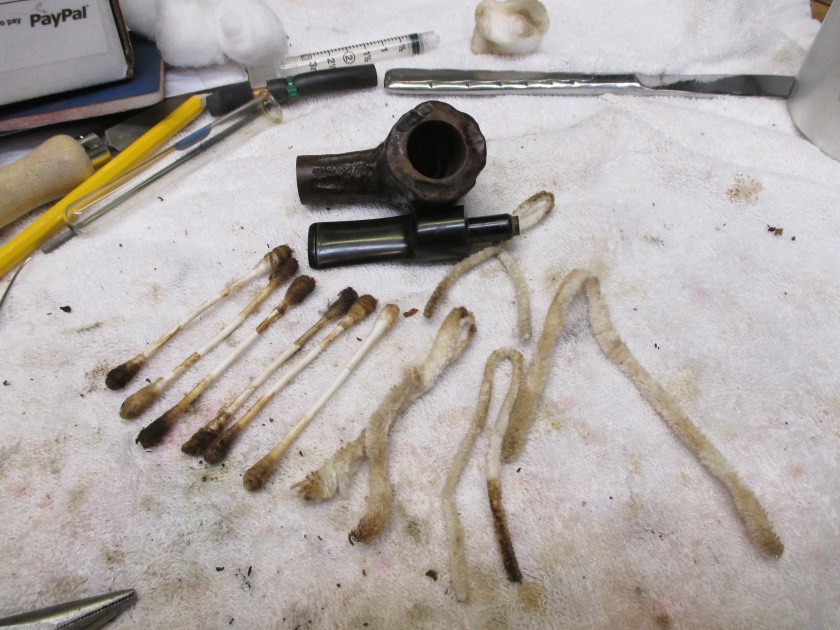
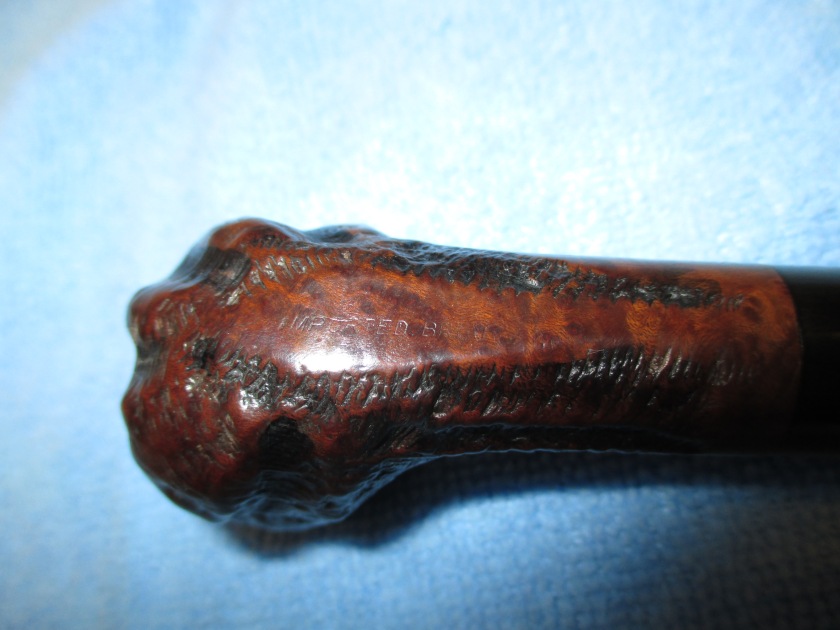
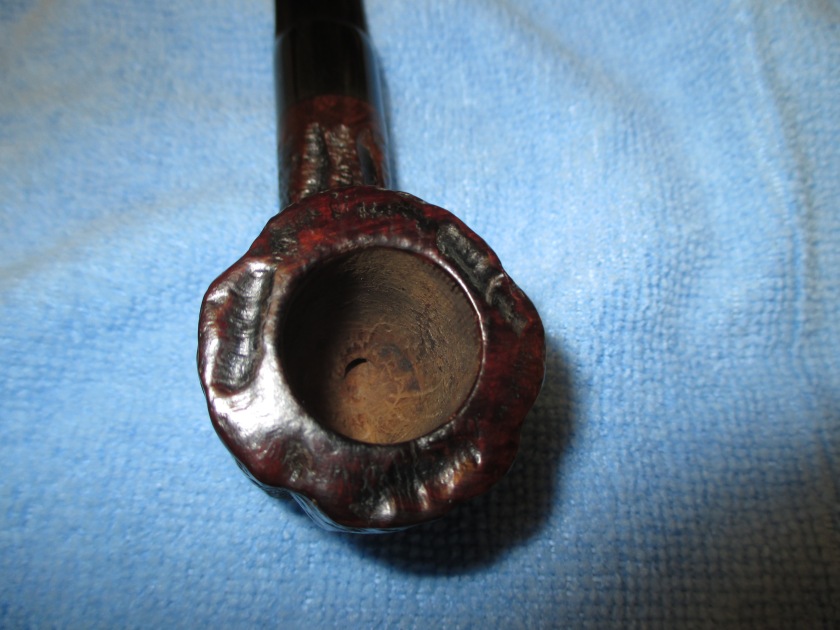
I had three estate pipes that needed serious tobacco chamber restoration. A pre-republic Peterson Shamrock, bent Bulldog, a Marxman Author and an Upshall Canadian with a Dublin bowl. The shamrock had gouges in the bottom of the chamber that led me to believe the previous owner used a chainsaw to clean out the bowl, and an 8d nail to clear out the draft hole. The draft hole, consequently, was a little too large and too high. The Marxman’s chamber bottom was nearly burnt through.  The outside showed charring and a blister in the briar. It was either try the mud, or make a briar plug. Being lazy, I chose the mud. The Upshall had very charred and burned out chamber sidewalls, but the bottom was pristine.

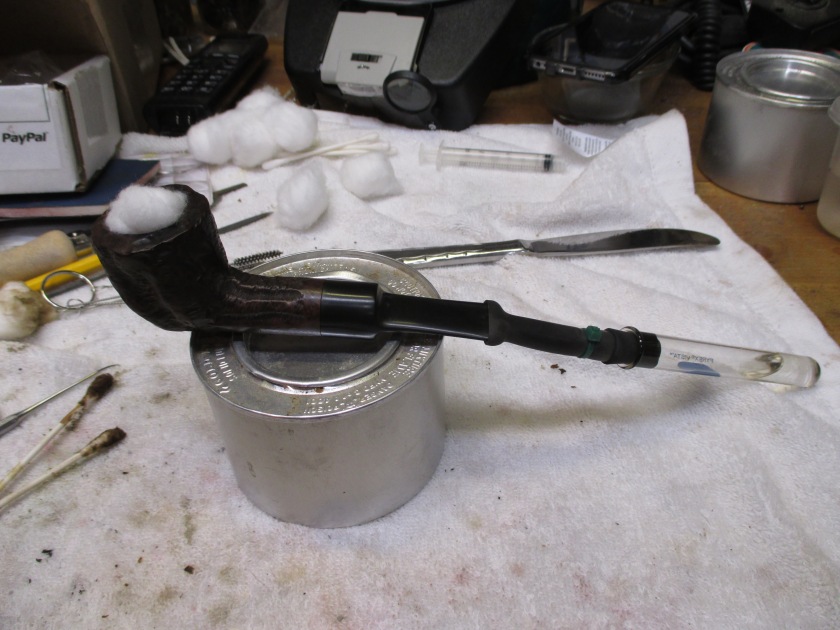
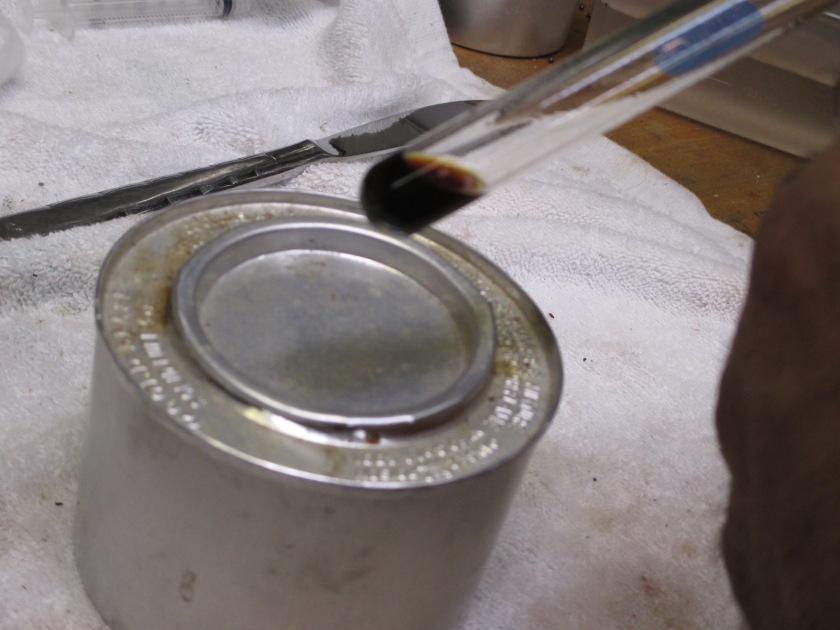
The mud is easy enough to mix in its ziplock bag by adding a teaspoon of water, closing the bag and kneading it with your fingers. After it is all blended you clip a corner off the bag and squeeze out what you need. You first need to wet the inside of the bowl with water on your finger. I used my finger and a Czech tool to apply the mud to the chamber bottoms of the Shamrock and Marxman. For the Upshall, I smeared the mud with my fingers around the sidewall of the chamber and pressed it in firmly. I left the mud about 1mm proud to allow for sanding the next day.

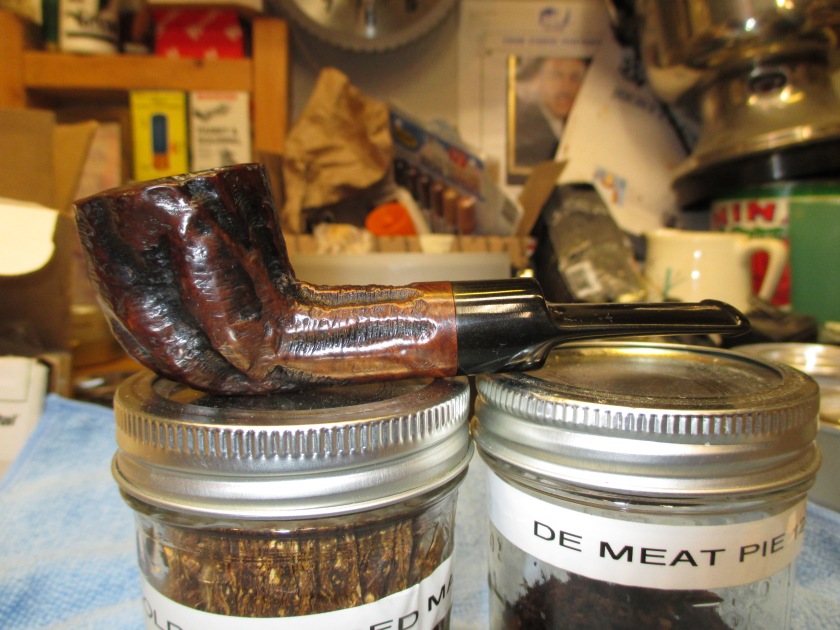
The Marxman and Shamrock were ready to go the next day. The Upshall needed to be sanded, which I did with 400 grit, and it came out solid and smooth. Since the pipes were basically reamed back to briar and now had bare pipe mud, I decided to coat the bowls with a mixture of food grade activated charcoal and a sugar syrup that I made. I let that dry another day. I have smoked two bowls each in the Marxman and Shamrock and can say they smoke like new. There is no smell or taste from the pipe mud, and the stuff is hard as rock.

Some observations when working with the mud. One is that you only have a five to seven minute window working time before the freshly mixed mud begins to harden. It cures rather than only relying on drying. It cures rock hard after about twenty minutes to a half hour, even when it’s in the bag. The mud is very tenacious and will stick wherever and to whatever it is on. I found this out the hard way. Note to self; remember to wipe the mud before it hardens off of tools, pipe exterior surfaces and hands with a wet rag.

Overall, I think this product does what it is supposed to do, and it does it very well. If it holds up long term, I will have saved myself the trouble of making, fitting, sanding and finishing a briar plug on the Marxman. I’ll have a nice clean chamber bottom in the Shamrock and an Upshall that I won’t be afraid to smoke. For 1$ US, this stuff seems like a bargain, especially if it works as well as I believe it will.

I have no affiliation with Aristocob whatsoever, but wanted to review their product in the hope others may find this a solution to their own restoration issues.

You can see the product and a video on its proper use on their site link below.

http://aristocob.com/ARISTOCOB-PIPE-MUD-Miracle-Mud-P3248829.aspx


Anyone who has tried Miracle Mud please leave a comment on your experience with it.


I’d like to thank Steve for asking me to write this review, and for being a mentor to me in pipe restoration. Also, special thanks to Charles, Troy and all the others who have been sharing their knowledge and experience with the pipe smoking community. You all are the inspiration for me starting this blog…maybe one day I’ll figure out how to do it properly.

Thanks again, guys.